
Create your own Toy Story Party Favor Bag by creating a custom stamp with your Silhouette Mint. Learn how easy it is to make your own customizable party favors below that'll take less than 15 minutes.

Making your own stamps have never been faster or easier. I tried a few years ago to make my own stamps using my Cricut and I could never get a crisp line like I wanted. The Silhouette Mint takes care of those crisp lines I yearned for and it literally is done within 10 minutes. The longest thing about this is waiting for the ink to settle into your image.
If you really want to take your party up a notch, dress just like the characters. This DIY Bo Peep costume was so fun to make and I can wear it year after year!

Supplies for your Toy Story Party Favors

You'll want to begin by using your Silhouette Mint software to merge your image onto the Mint canvas. After you've uploaded the image, send it to your Mint. The image will automatically reverse when you've pressed send and it'll pull up a preview of what your image will look like once it's printed.
Run your stamp canvas through the machine and then peel off the plastic covering. Adhere it to your block and then apply your blue ink to the areas of your image that are greyed out. Allow at least 15 minutes for your ink to absorb into the stamp and then stamp out all the excess on a scrap piece of paper until you get your clear image.

how to stamp your toy story bags
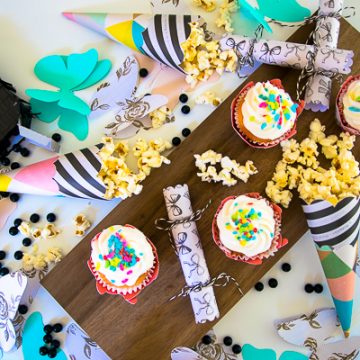
After you've removed your excess ink, stamp the block sticker and then adhere it to the block itself. Slide a thick piece of cardstock into the bag so that you can stamp your image without lines from the seams showing through. Stamp all your bags and then fill it up with some yummy Birthday Cake Popcorn.

That's it. These Toy Story Favor Bags are perfect for your next Toy Story birthday party!

- Free Coffee SVG Files – Boom! Roasted - October 5, 2021
- Free Beer SVG Files – “It's What's For Dinner” - September 7, 2021
- DIY Back to School Banner with Cricut - August 13, 2021

Hey, Let's Chat!